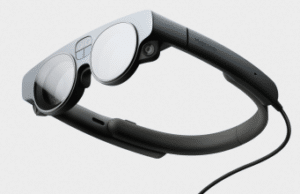
Less than a week since launch, Quest 3 has already gotten the full iFixit teardown treatment, showing off just how slim (and seemingly difficult to repair) the headset really is.
iFixit’s Shahram Mokhtari pried apart Quest 3, revealing the innards of Meta’s new $500 mixed reality standalone. The short of it: it’s pretty complicated to dismantle and there aren’t any repair parts as such, getting a [4/10] repairability score in Mokhtari’s video (linked below).
Getting past the user-removable bits is simple enough. Take off the headstrap and pop out the facial interface, as anyone would do to install either aftermarket or first-party accessories. Removing the rubberized face plate, which isn’t meant to be user-removable, proved challenging though, as Mokhtari snapped an internal clip with his plastic spudger, and by the looks of it, busted the top structural bridge of the face plate too.
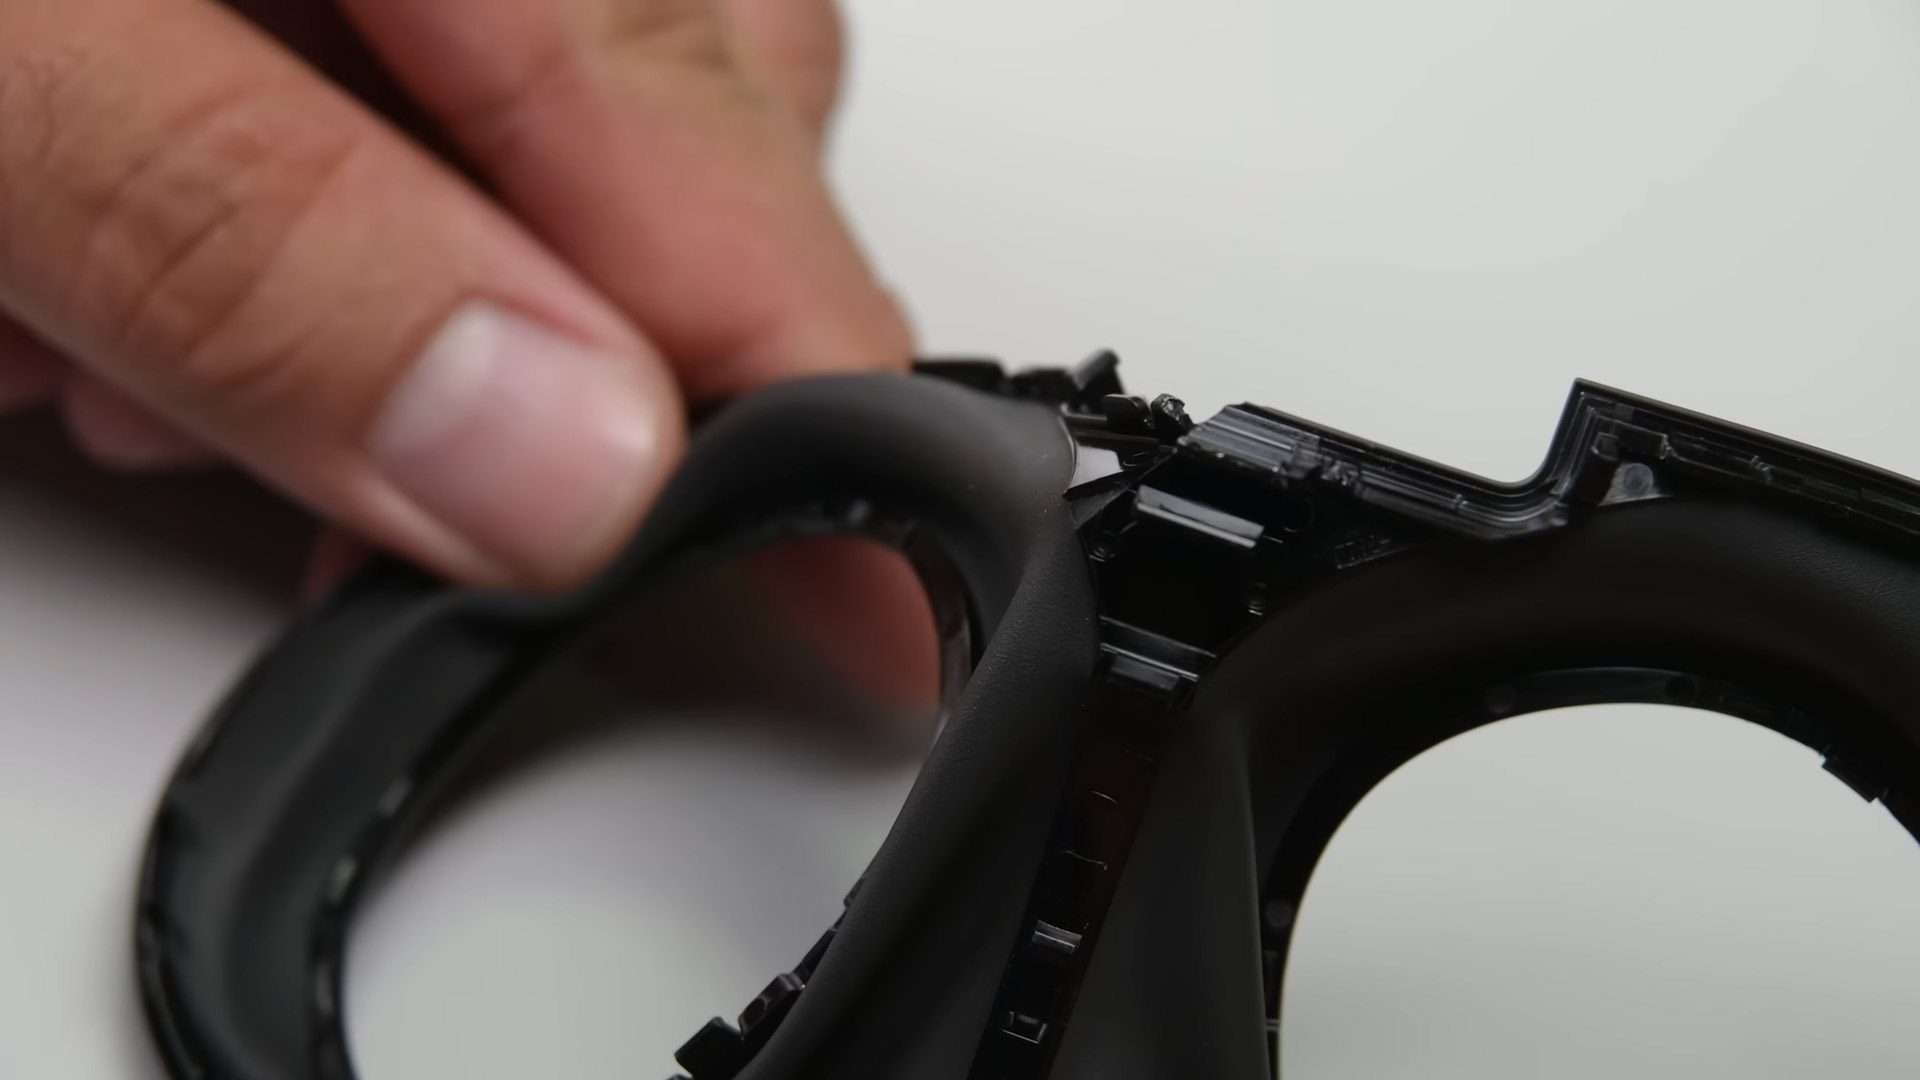
That’s some pretty thin plastic—forgivable enough since Meta likely designed the headset to make weight savings wherever possible. Still, something to watch out for.
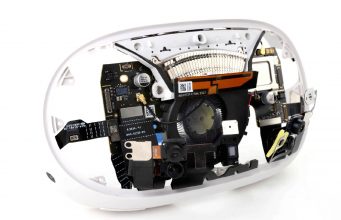
While it’s a much thinner package than Quest 2—about 40% thinner when you don’t consider the facial interface—the headset’s new slim design is largely owed to its inclusion of pancake lenses. The inclusion of these new lenses, which use polarization-based reflection to fold the optic path into a small space, doesn’t impede the teardown process any more than larger Fresnel lenses might.
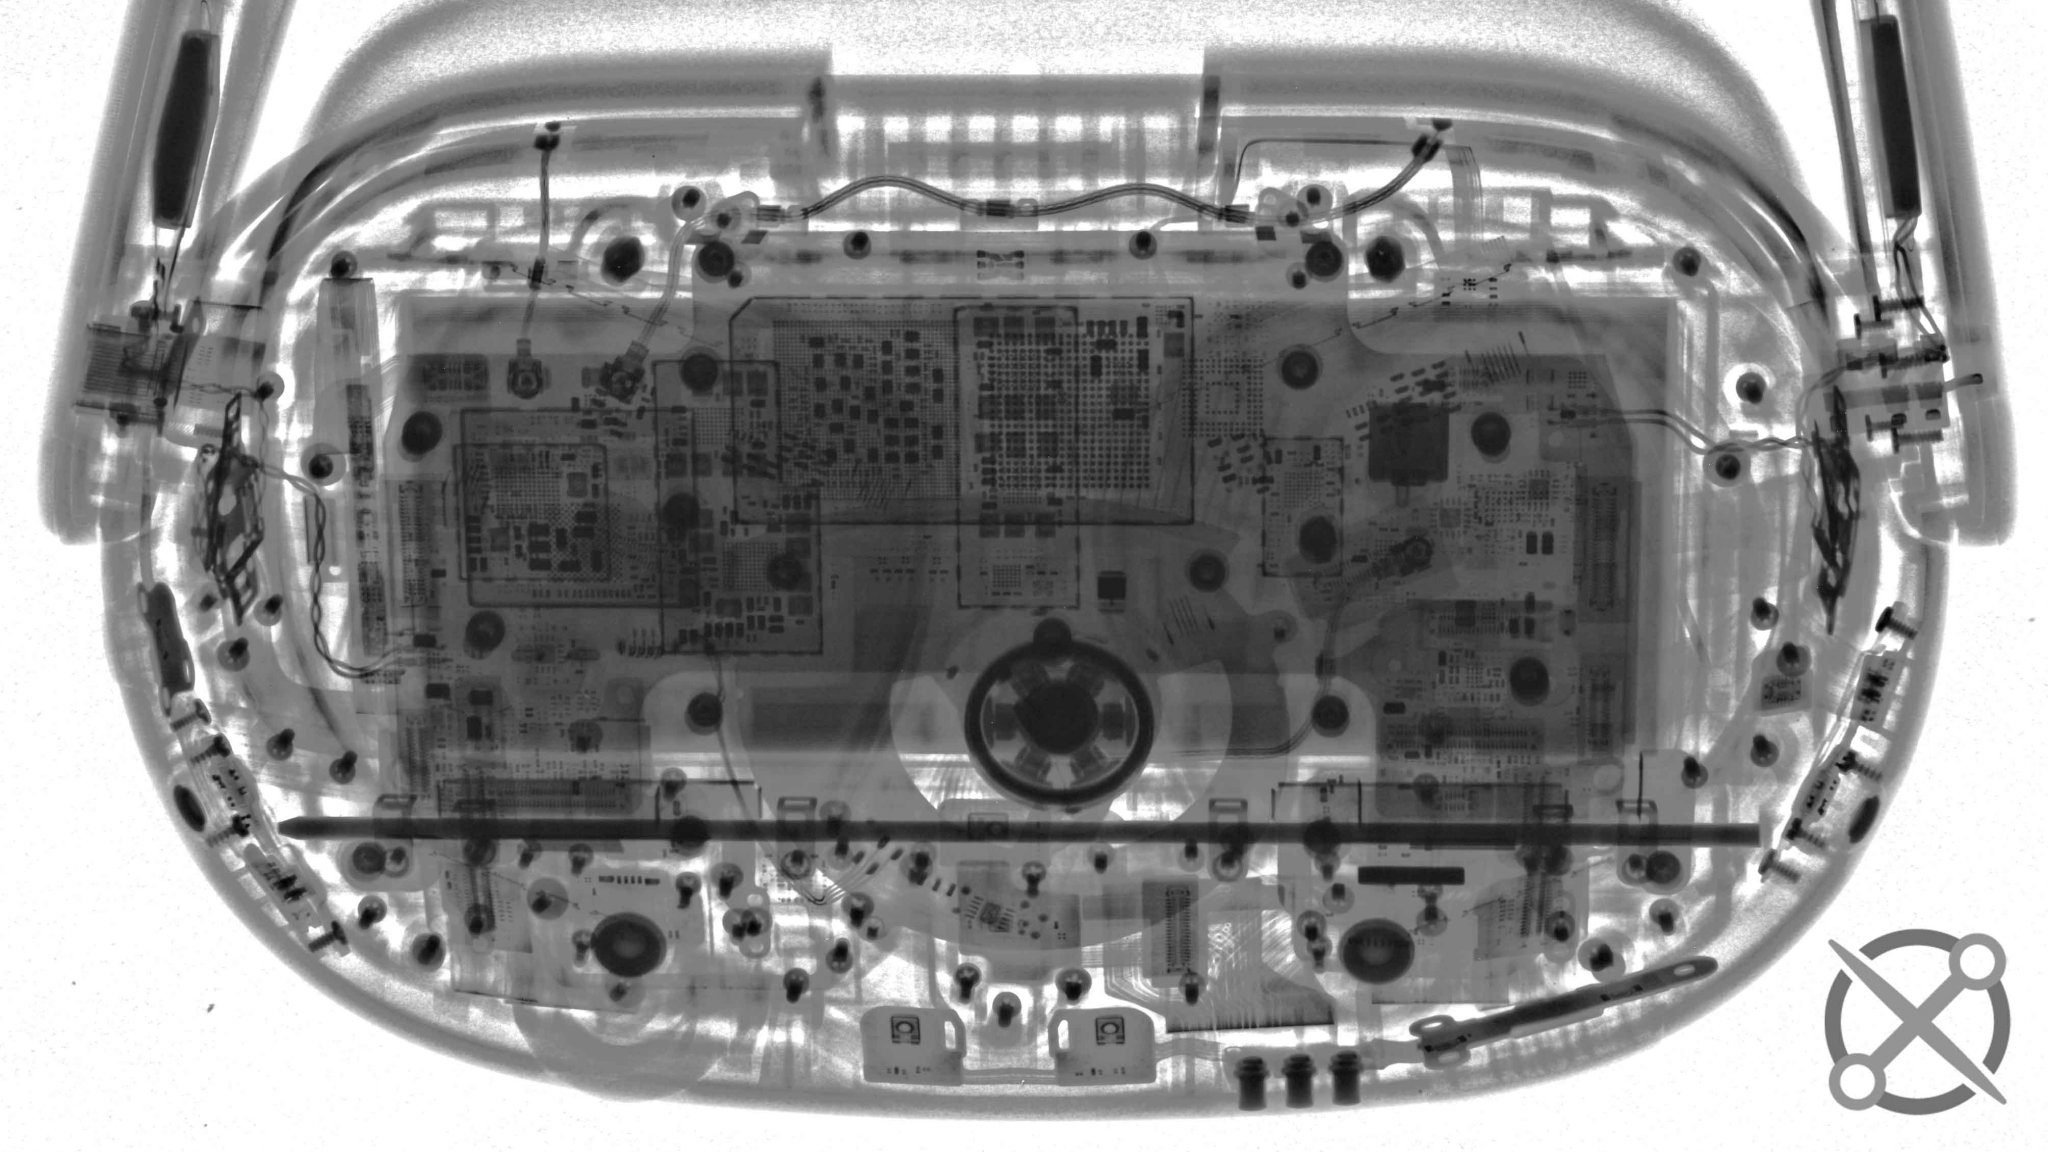
Here’s a 360 look at the headset under X-ray, courtesy Creative Electron, showing off just how tightly everything is sandwiched together:
–
Things aren’t glued down thankfully, although the headset does feature a ton of screws—more than 50 by Mokhtari’s reckoning, many of which you’ll need to contend with to get to the battery.
Quest 3’s battery is sandwiched between the display and mainboard; while keeping the battery close to the user’s center of gravity puts less strain on the neck, it requires you to dig deep into the headset’s guts. One big benefit: Quest 3’s battery is pretty normal, unlike Quest Pro’s unique curved, back-mounted battery.
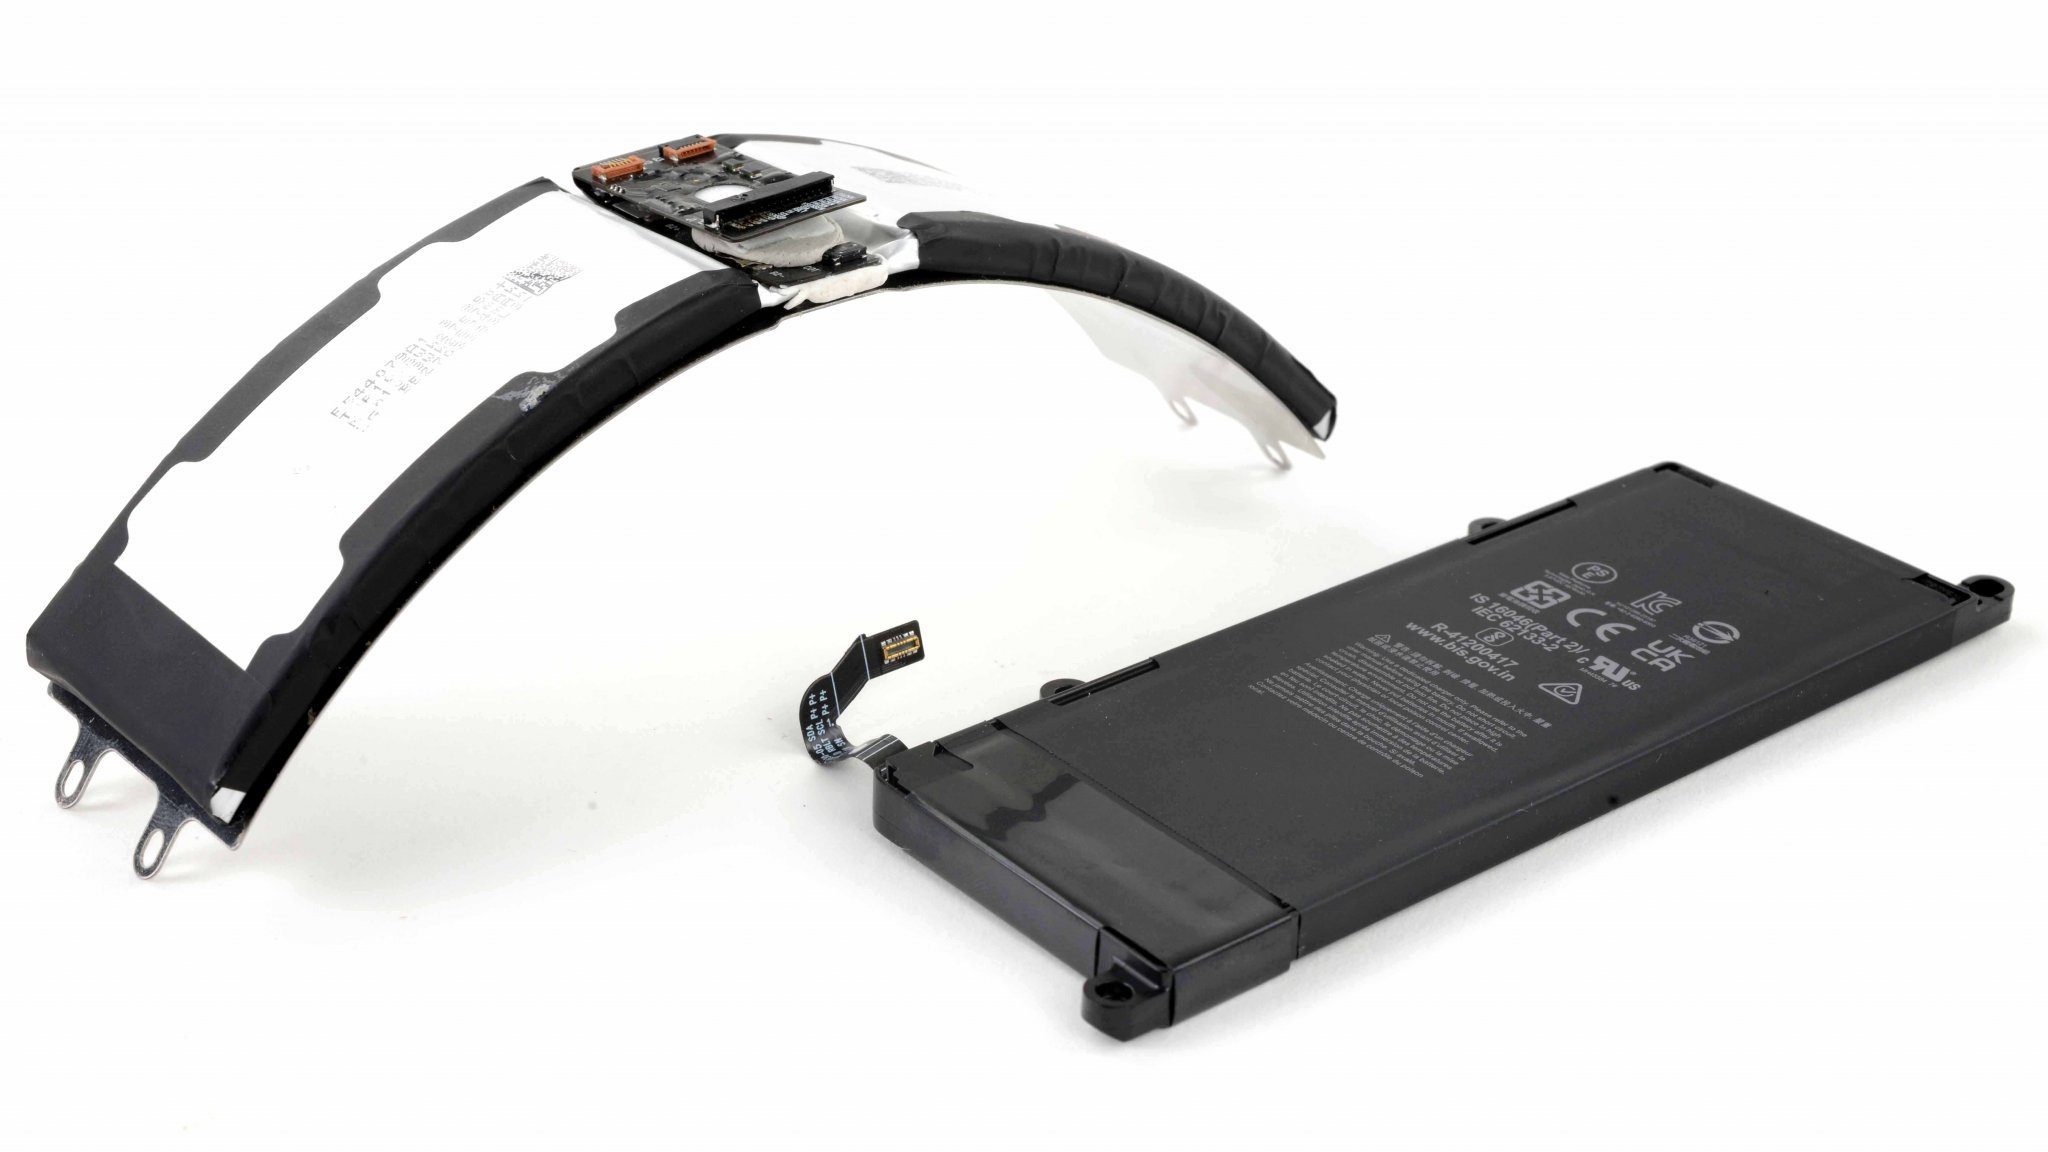
Replacing the battery is technically possible, although there aren’t any official replacement parts. Getting there is apparently a bit more complicated than replacing a battery on a modern smartphone, although thankfully you won’t need heat guns or a host of dedicated tools to do so. Still, it appears to between the difficulty of replacing the battery of Quest 2 (harder) and Quest Pro (easier).
Mokhtari’s teardown delves into more of Quest 3’s pros and cons, such as the cost saving benefits of not including eye-tracking, and providing a cheaper IR-tracked Touch Plus controller over Quest Pro’s inside-out tracked Touch Pro controller. Another curiosity: Quest 3’s depth sensor fits into the blank spot where it would have otherwise gone in Quest Pro had they not scrapped the sensor right before production.
Catch the full eight-minute video below, which critically isn’t a repair guide as such. We’re hoping to see that posted on iFixit fairly soon, so stay tuned.